3 minutes
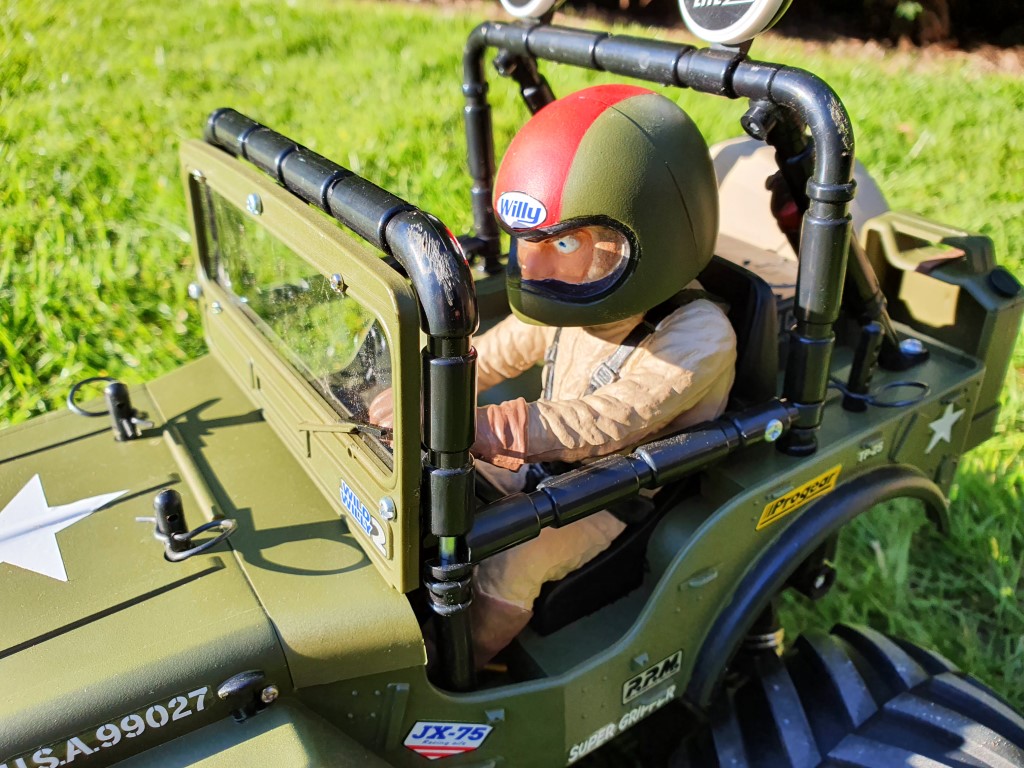
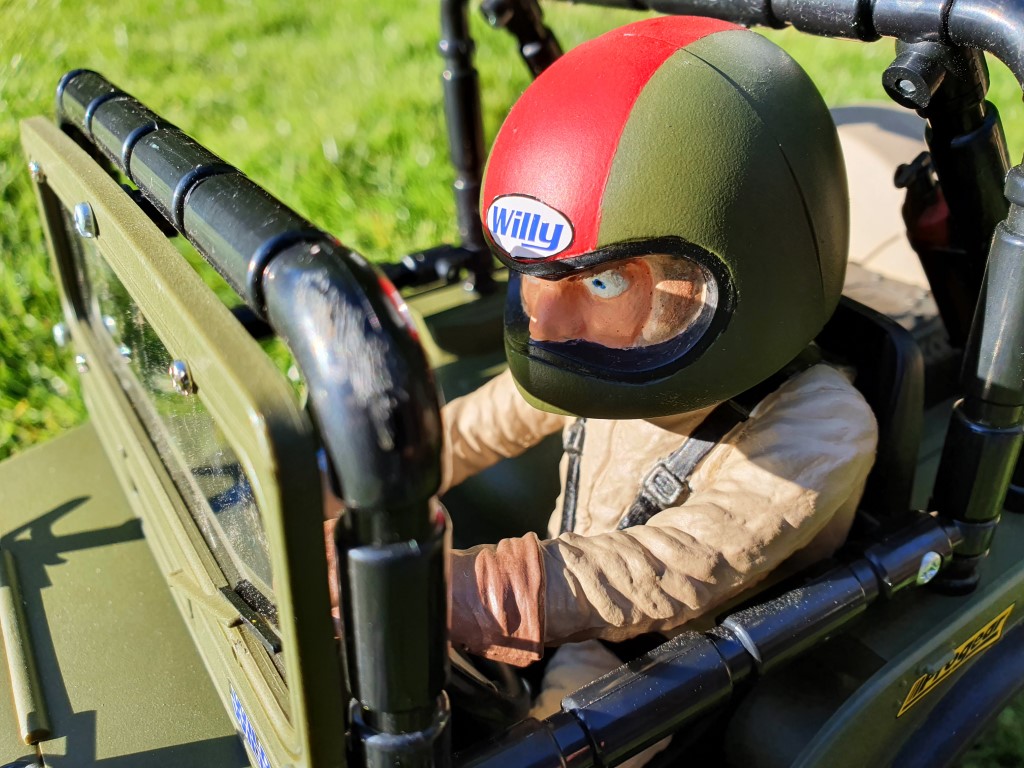
Tamiya Wild Willy WR02 - Lockdown project
 |
 |
 |
 |
 |
 |
 |
 |
During lockdown I wanted something to do that didn’t involve a computer screen as I was spending crazy hours at the keyboard. I’ve (literally) home automated the shit out of my house already, so instead, returned to an old childhood hobby. As a kid I loved building and racing Tamiya RC cars, my first one was the entry level Tamiya Falcon, I then worked my way through some of their models with the Tamiya Hotshot being one of my favourites. However, a couple that were out of my paper-round money reach, were the Bigwig and the Wild Willy. So when looking for a kit to build during lockdown, I wanted something that would be fun to build and drive, and most importantly, one my son could control easily on grass. So the Wily Willy WR02 was an easy choice.
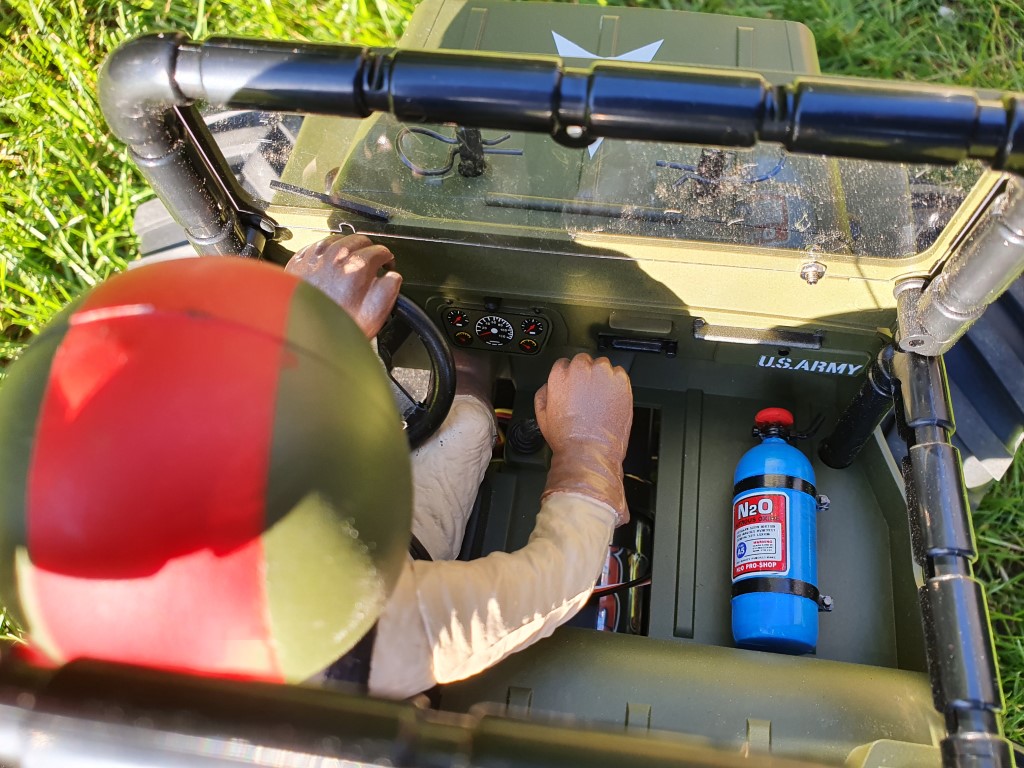
Now this is finally built, I have to say, it’s one of the most fun RC cars I’ve ever used. It handles really well, the steering is great and is much quicker than I thought it would ever be. One of the best things is that the RC transmitter allows me to reduce the throttle between 0-100%, meaning I can set it to 25% give it to the boy and he can give the trigger full beans without the car veering off uncontrollably into the nearest concrete pillar.
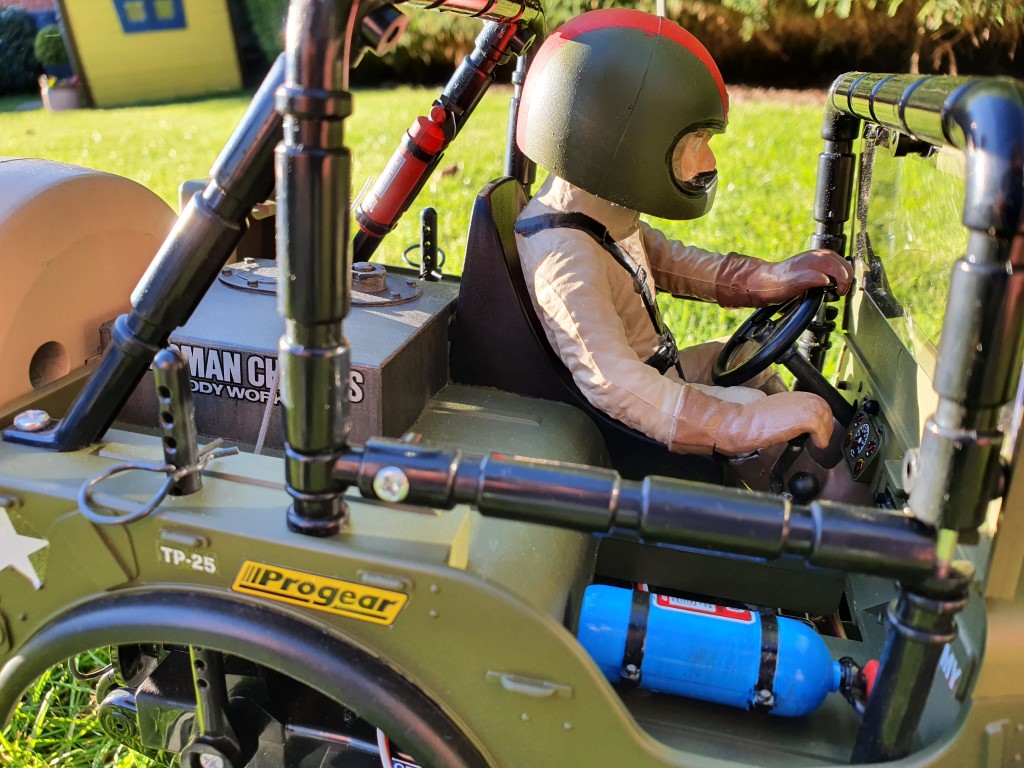
Hop-ups
I’m a geek, so had to make some obligatory upgrades along the way, including:
- Hobbywing Quicrun ESC
- Tamiya 540 Sport Tuned (black can)
- Full bearing set
- Receiver PCB conformal coating
- Aluminium 12mm hex wheel jubs
Adding LEDs headlamps and tail lights
Then it was time to pimp it up with some LEDs. I couldn’t find a guide on how to do this, so here are the steps that I took including the parts I used.
Part list:
- Front head lamps - Tamiya Car LED Light Kit
- Rear lights - 8mm Red Straw Hat LEDs
- LED light controller - RC on/off
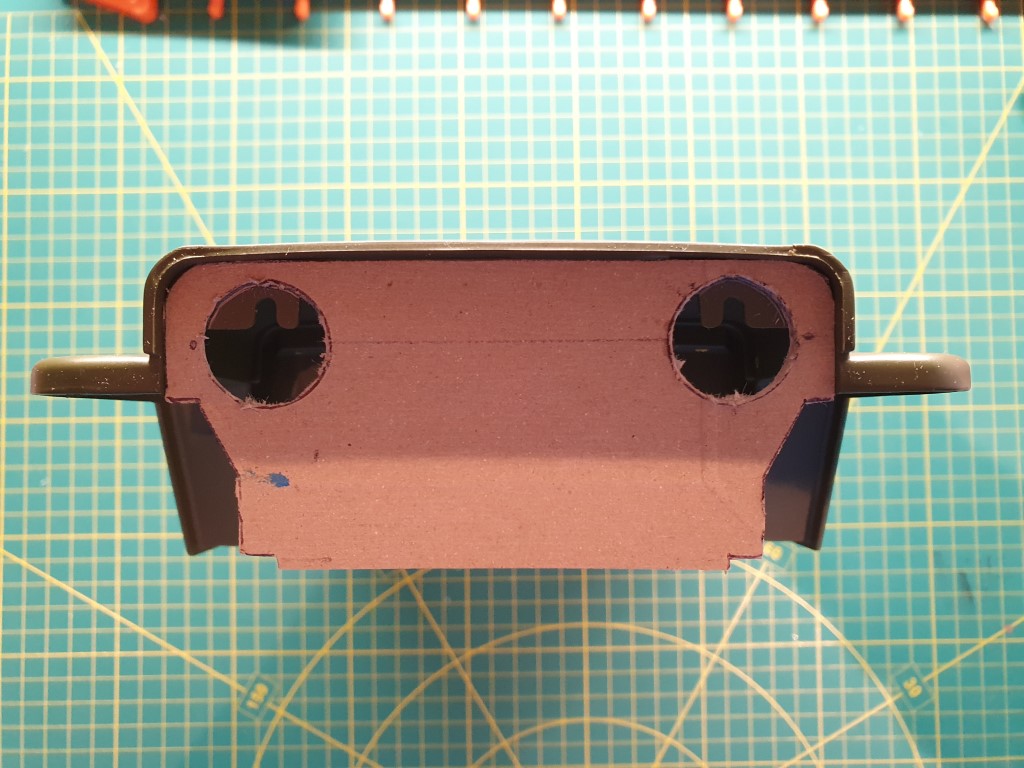
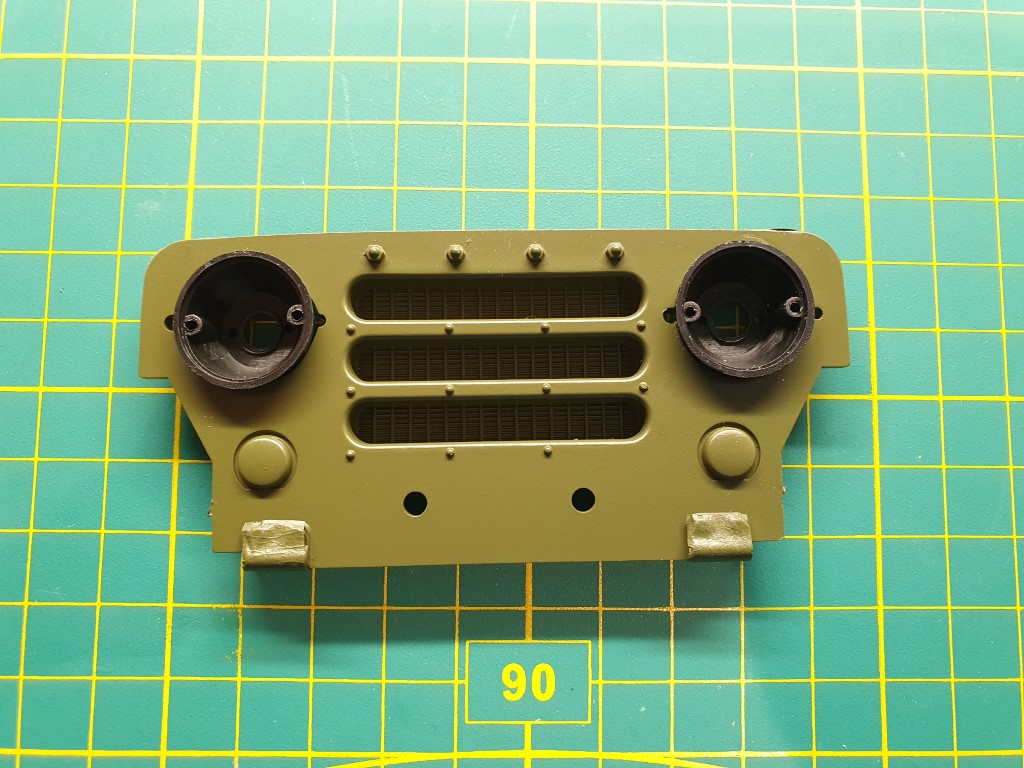
Step 1 - Front grill template
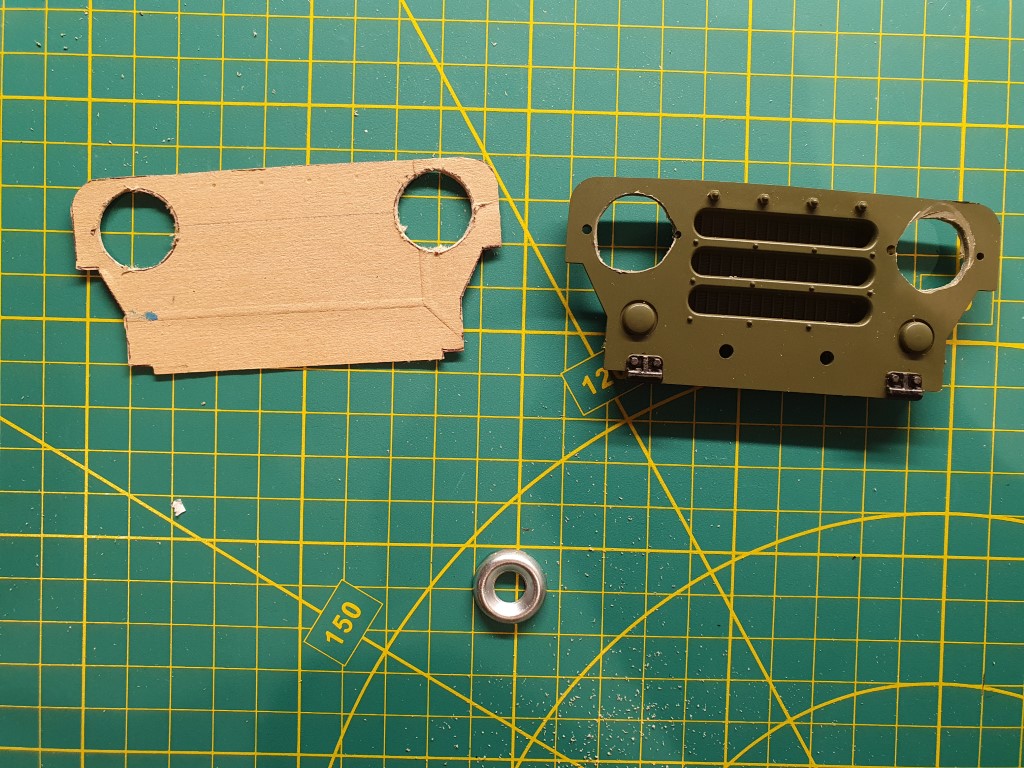
Create a template out of cardboard of the front grill to position the head lamps. Use the template to mark out on the chassis where the lights will come through, and remove the plastic that obstructs them.
Then use the template to drill out the holes for the new lights on the front grill.
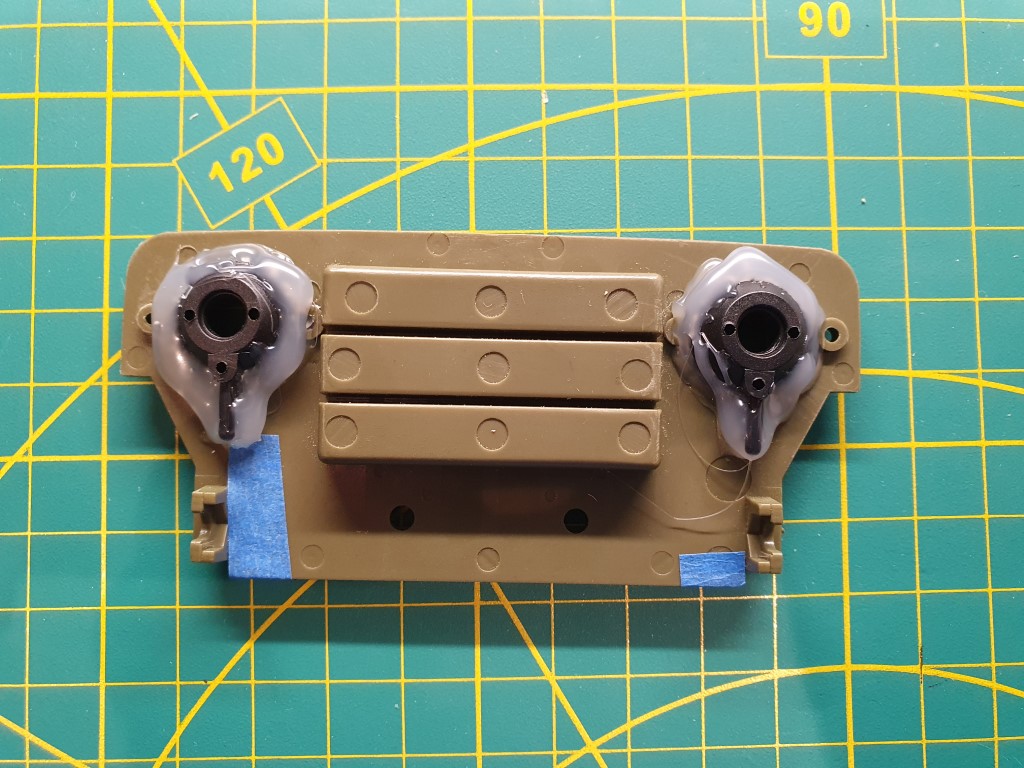
Step 2 - Trim the head lamps
Trim the bottom off the head lamp holders.

This will allow them to sit flush against the inside of the front grill.
Step 3 - Attach the head lamps
Using a glue gun carefully glue the head lamps in position.
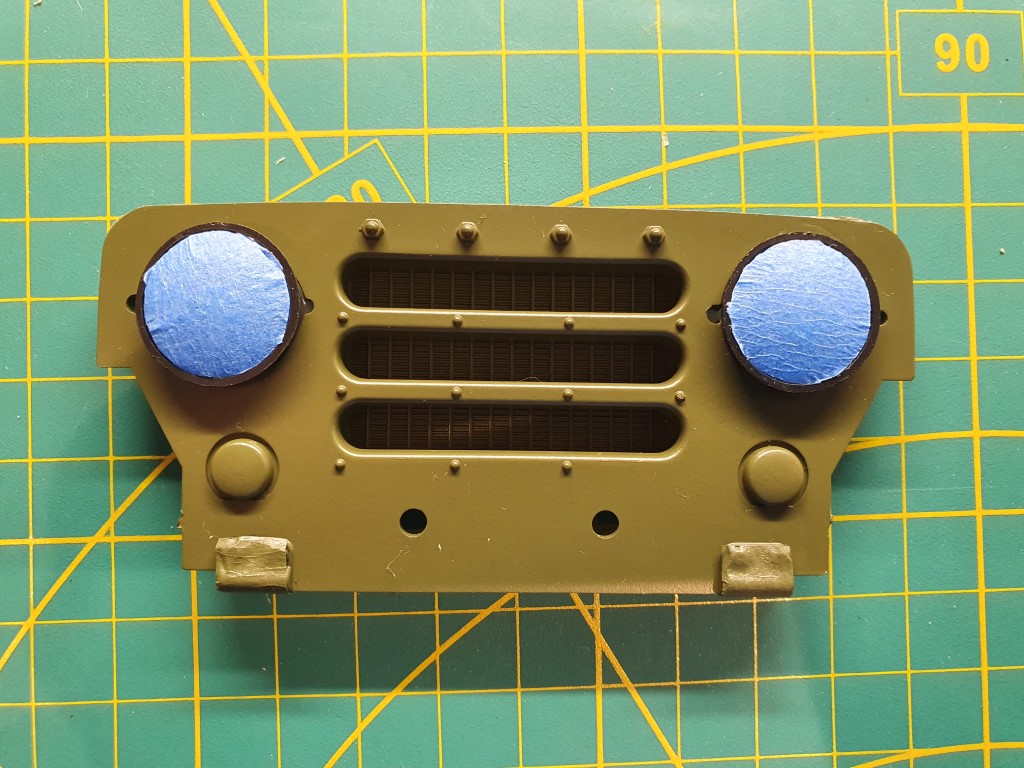
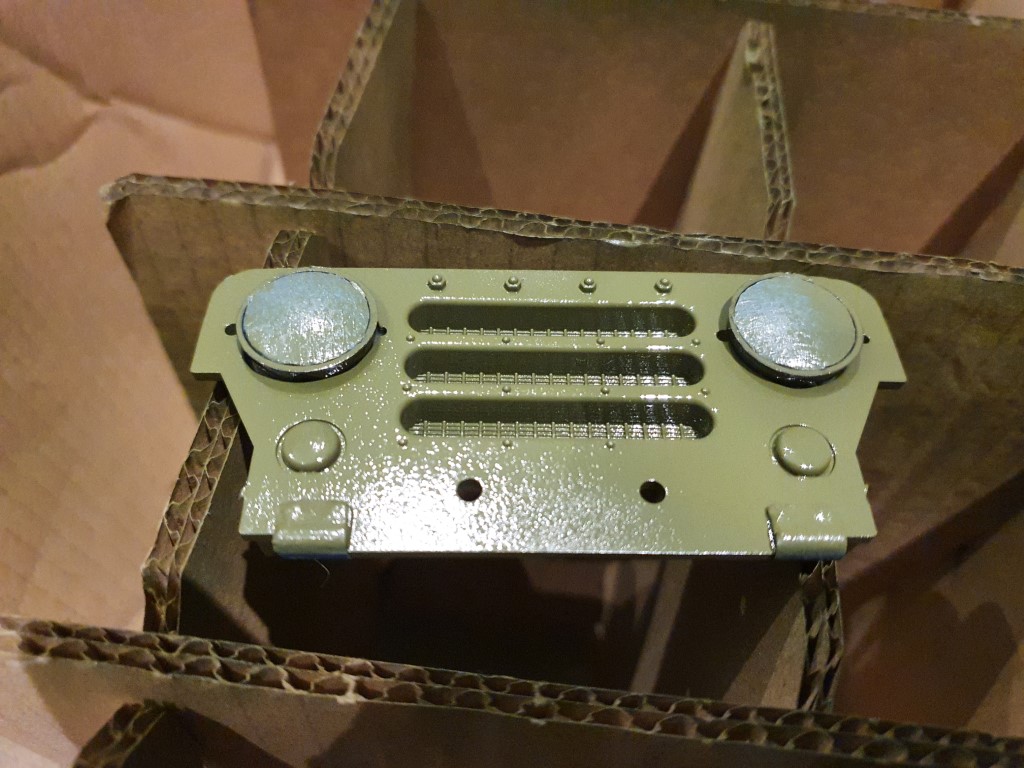
Step 4 - Paint
Mask up the lights and complete you paint job.
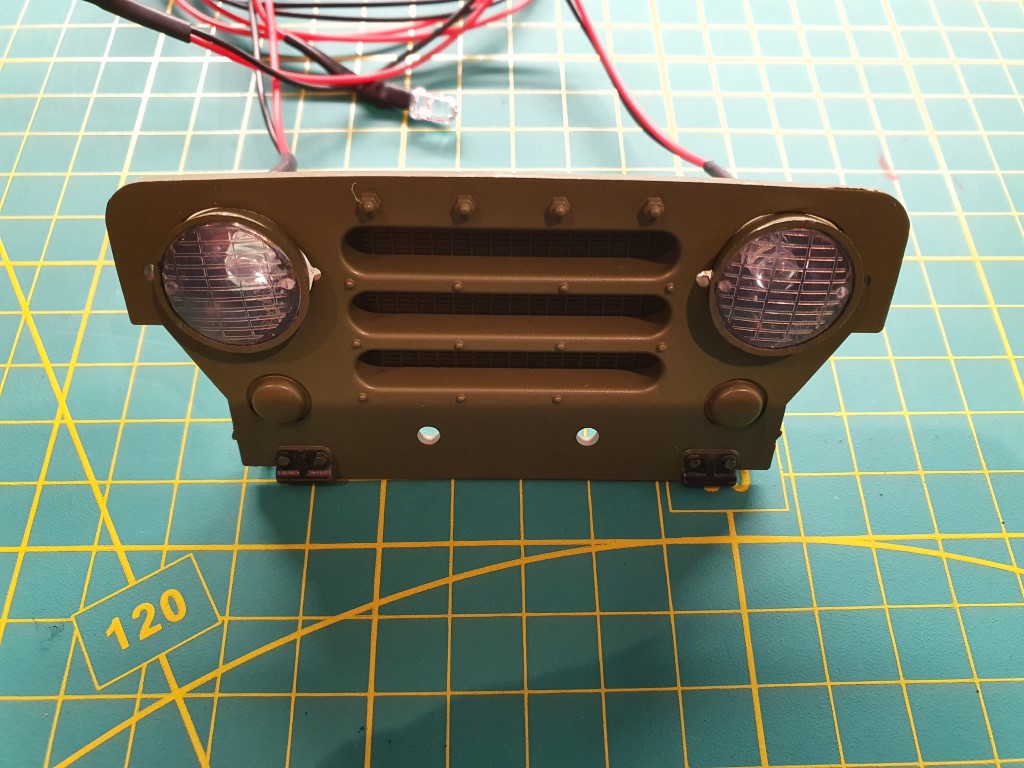
Step 5 - Head lamp LEDs
Feed the front LEDs into the lamp holders.
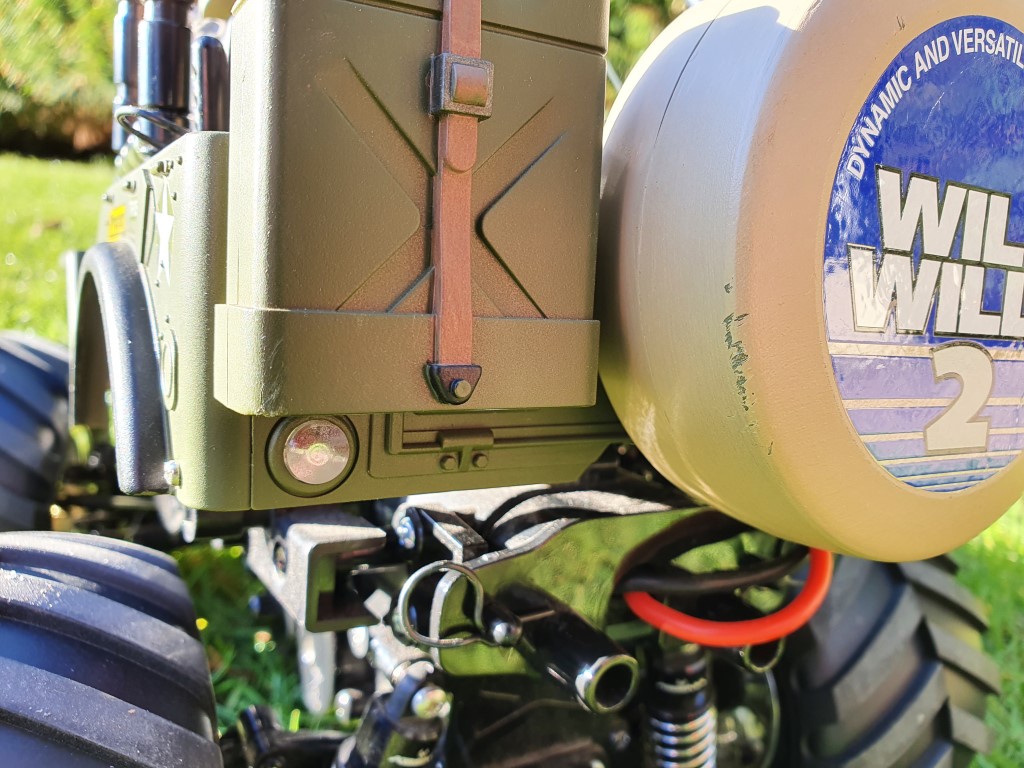
Step 6 - Tail light LEDs
For the tail lights, drill out a slightly smaller hole than the base of the straw hat LEDs - so they can poke through back panel, but not fall out.

Step 7 - Wiring
Tidy up the wiring loom, I cut this down to size and re-soldered as there was a fair bit of excess.

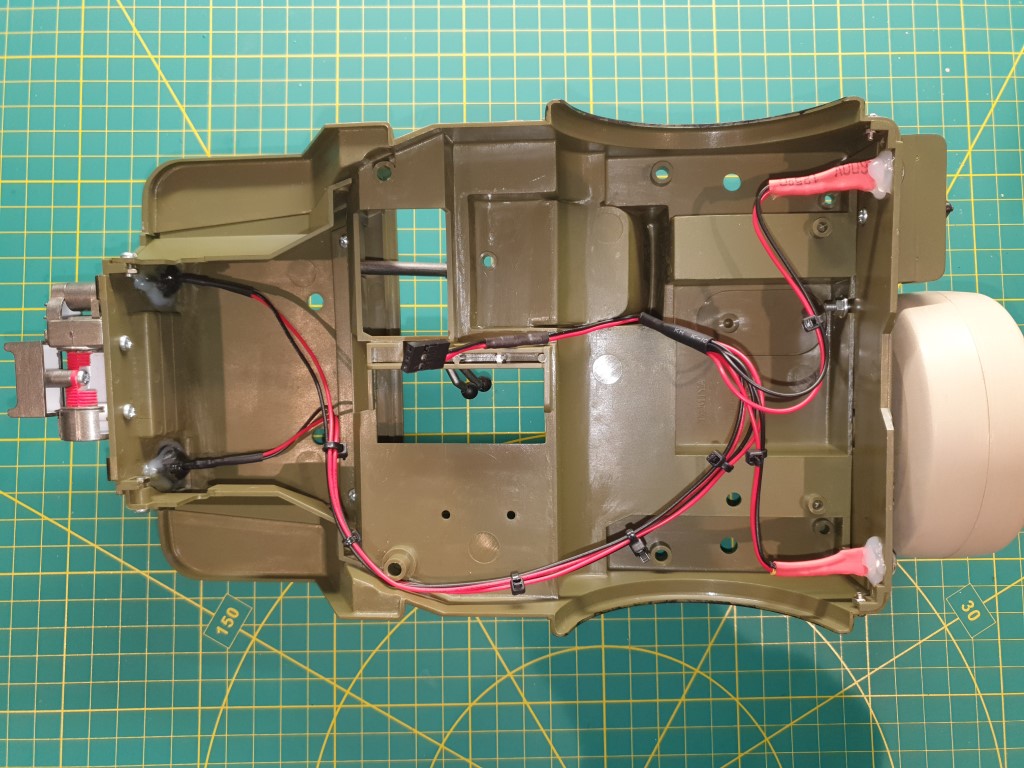
Hook up the lights to the LED controller, connect to to the receiver and you’re done.